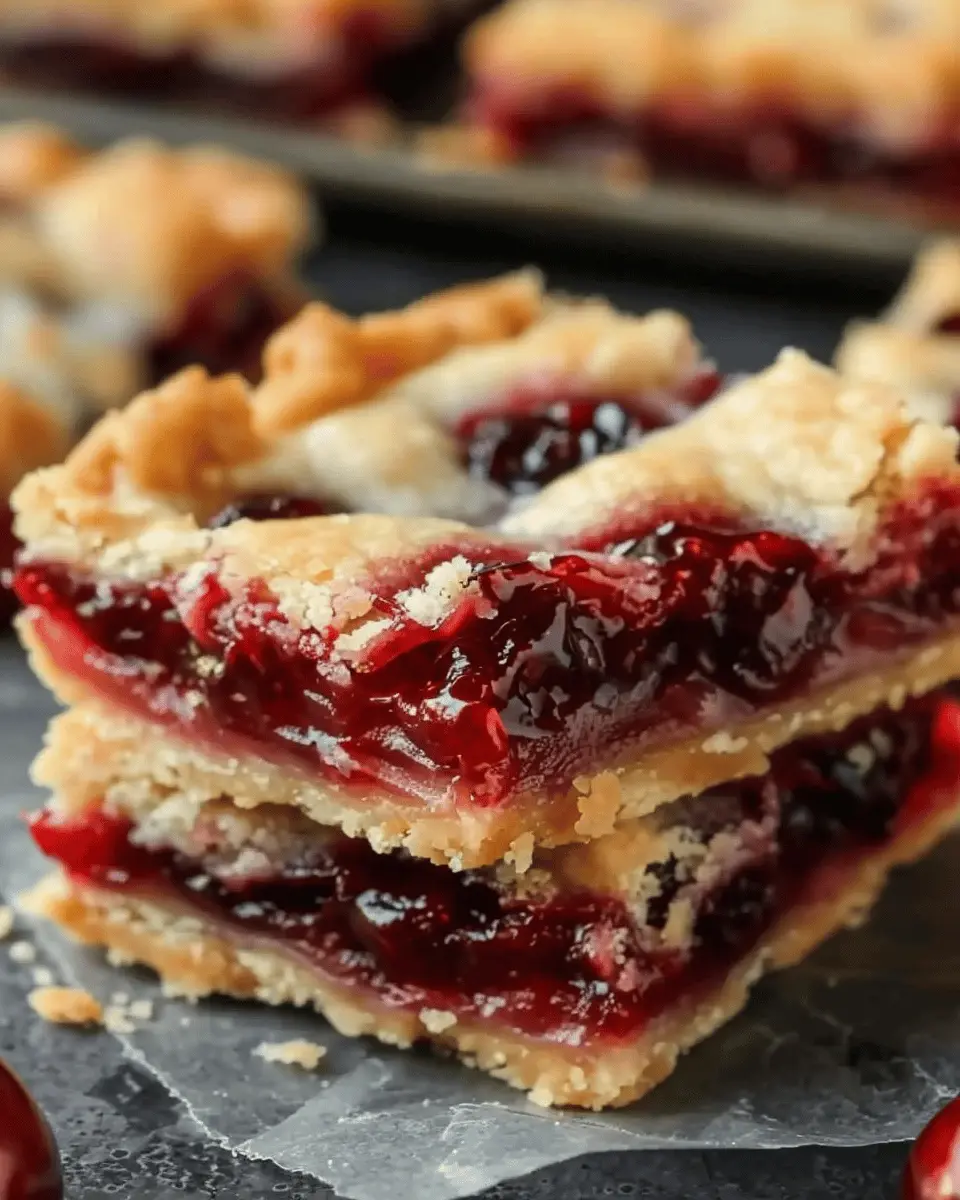
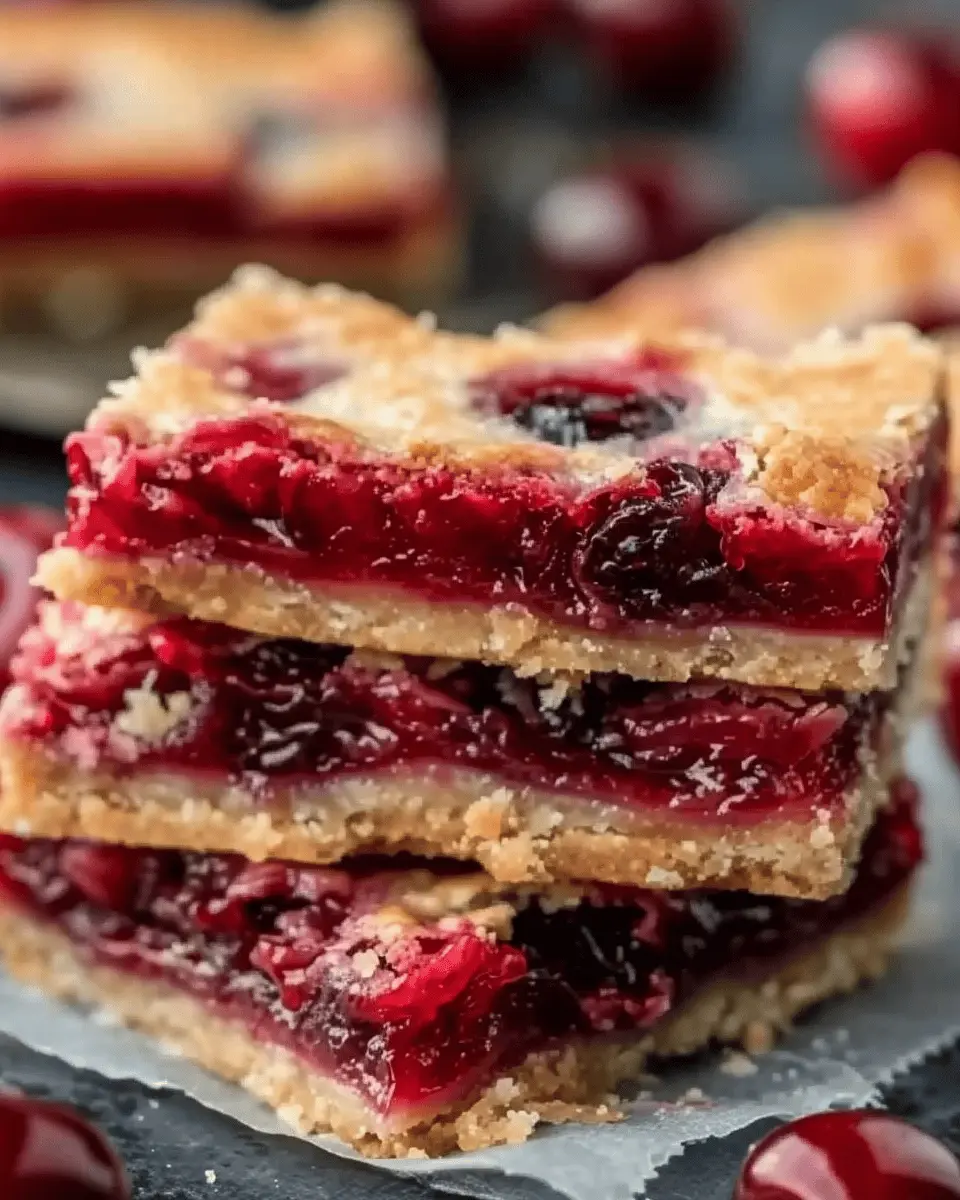
Introduction to Easy Cherry Pie Bars
If you’re a young professional juggling a busy work schedule, you might think that creating delicious desserts is unachievable – but that’s where you’re mistaken! Enter the world of easy cherry pie bars, a delightful treat that combines the rich flavors of cherry filling with a buttery crust, making it both an irresistible dessert and a quick baking solution for any occasion.
Why Cherry Desserts Are a Must-Try for Young Professionals
Cherry desserts are a true gem in the baking world, and here’s why you should add them to your culinary repertoire. First off, cherries are packed with antioxidants. According to a study published in the Journal of Agricultural and Food Chemistry, these vibrant fruits can help reduce inflammation and promote overall health. When you whip up easy cherry pie bars, you’re not just indulging your sweet tooth; you’re also incorporating a nutritious element into your diet.
But let’s be real — sometimes we just want a tasty treat that requires minimal effort and cleanup. That’s where the simplicity of easy cherry pie bars shines. With just a handful of ingredients, you can create a dessert that impresses coworkers at a potluck, satisfies your afternoon snack cravings, or serves as the perfect ending to a cozy dinner at home.
The Perfect Balance of Flavor and Convenience
What’s truly exciting about these bars is their versatility. You can enjoy them warm, topped with a scoop of vanilla ice cream, or as is for a simple, sweet bite. Plus, they can easily be packaged for those lunch breaks at work — who wouldn’t want a homemade treat to brighten their day?
As a busy professional, mastering a quick dessert like easy cherry pie bars saves you time and allows you to showcase your kitchen skills without the stress of elaborate recipes. Imagine coming home after a long day and treating yourself or your loved ones to a slice of cherry goodness that’s both comforting and satisfying.
Ready to impress your friends and family? Let’s dive into the recipe for these straightforward, scrumptious bars that are bound to become a staple in your kitchen!
Ingredients for Easy Cherry Pie Bars
Essential Ingredients You’ll Need
Creating easy cherry pie bars from scratch is simpler than you might think! Here’s a rundown of the essentials to get those flavors just right:
- Fresh or Frozen Cherries: About 2 cups, pitted and chopped—your star ingredient!
- Granulated Sugar: Incorporate ¾ cup to sweeten those lovely cherries.
- All-Purpose Flour: 1 ½ cups will provide the structure for your bars.
- Butter: ½ cup (1 stick), melted—nothing beats that buttery crust!
- Eggs: Just 1 large egg to bind it all together.
- Baking Powder: 1 teaspoon for a light texture.
- Vanilla Extract: A splash for that aromatic depth.
These ingredients are staples in many kitchens. Did you know that cherries are packed with antioxidants, making them not just delicious but also a healthy treat? For a deeper look into the benefits of cherries, check out this piece from Harvard Health.
Optional Equipment for Baking
While you can whip up these easy cherry pie bars with basic kitchen tools, a few extras can make the process smoother:
- Mixing Bowls: Having a set of various sizes helps for mixing ingredients.
- Baking Dish: A 9×13 inch pan is preferable for even baking.
- Parchment Paper: For easy removal and cleanup.
- Whisk: To blend everything thoroughly.
So, whether you’re a novice baker or just looking for a quick dessert to wow your friends, these ingredients and tools will have you covered. Happy baking!
Step-by-Step Preparation for Easy Cherry Pie Bars
When you’re craving something sweet but don’t want to spend all day in the kitchen, easy cherry pie bars are the perfect solution. These bars combine the delightful flavors of cherry pie with a simple and straightforward preparation. Let’s dive into the steps to create these delicious treats!
Preheat Your Oven and Prepare Baking Pan
The first step in our cherry pie bar adventure is to preheat your oven to 375°F (190°C). Preheating is crucial; it ensures that your bars bake evenly from start to finish. While your oven is warming up, grab a 9×13 inch baking pan and line it with parchment paper. This not only helps with easy removal later but also makes cleanup a breeze. If you don’t have parchment paper on hand, a light coating of non-stick spray will work just fine.
Mix the Dough for the Base and Topping
Next, it’s time to whip up the dough. In a mixing bowl, combine:
- 2 cups of all-purpose flour
- 1 cup of granulated sugar
- 1 teaspoon of baking powder
- ½ teaspoon of salt
- ¾ cup of unsalted butter, softened
- 1 egg
- 1 teaspoon of vanilla extract
Using your hands or a pastry cutter, mix until the dough holds together but is slightly crumbly. You’ll want to reserve about a cup of this dough for the topping later, so set that aside. The remaining dough will form the base for your delicious easy cherry pie bars.
Spread Cherry Filling for That Sweet Layer
Now, let’s focus on the star of the show—the cherry filling! You can either go the fresh route with pitted cherries or make life easier with a can of cherry pie filling. If you choose fresh cherries, you’ll need about 4 cups of pitted cherries mixed with ½ cup of sugar and 2 tablespoons of cornstarch for thickening.
Spread the cherry filling evenly over your dough base, making sure to cover it all the way to the edges. It’s okay if some of it spills over; that just means more cherry goodness!
Create the Top Layer with Remaining Dough
Remember that reserved dough? Crumble it over the cherry filling. This creates a delightful textured top layer that adds a nice contrast to the juicy cherries below. You want to make it somewhat even, but it’s perfectly fine to have some gaps. Those little spaces will let the cherries shine through.
Bake and Savor the Aroma
Pop the baking pan into your preheated oven and let those lovely bars bake for about 30–35 minutes, or until the top is golden brown and the cherry filling is bubbling. As they bake, your kitchen will fill with a heavenly aroma that will have everyone’s mouthwatering in anticipation.
Drizzle the Glaze for the Perfect Finish
Once your cherry pie bars are out of the oven and cooled slightly, let’s add the finishing touch: a simple glaze. Mix together:
- 1 cup of powdered sugar
- 2-3 tablespoons of milk (or almond milk for a dairy-free option)
- ½ teaspoon of vanilla extract
Whisk these ingredients together until smooth, and then drizzle the glaze over the cooled bars. This final step is not just for looks—it adds an irresistible sweetness that ties everything together.
Enjoying Your Cherry Pie Bars
Allow the bars to cool completely before slicing them into squares. These easy cherry pie bars are perfect for sharing or savoring all by yourself. Pair them with a scoop of vanilla ice cream or a dollop of whipped cream for an indulgent treat that will satisfy your sweet tooth.
Now that you know how to make these delicious bars, why not whip up a batch for your next gathering?
Exploring more recipes or baking tips? Check out King Arthur Baking for insights and inspiration! Happy baking!
Variations on Easy Cherry Pie Bars
When it comes to easy cherry pie bars, the possibilities are truly endless. Adding a twist to this classic treat can open the door to exciting flavors that elevate your baking game. Here are two scrumptious variations to try out:
Cherry Almond Pie Bars
If you’re a fan of almond flavor, you’re going to love these Cherry Almond Pie Bars. Simply add a teaspoon of almond extract to your cherry filling for a delightful nutty essence. The nutty aroma perfectly complements the tartness of the cherries.
- Optional Topping: Top with sliced almonds before baking for an extra crunch.
- Serving Suggestion: Dust with powdered sugar once cooled for a charming presentation.
Not only does almond extract enhance the flavor, but it also pairs beautifully with the natural sweetness of the cherries. You can find almond extract in most grocery stores, and it’s a versatile ingredient worth having in your pantry.
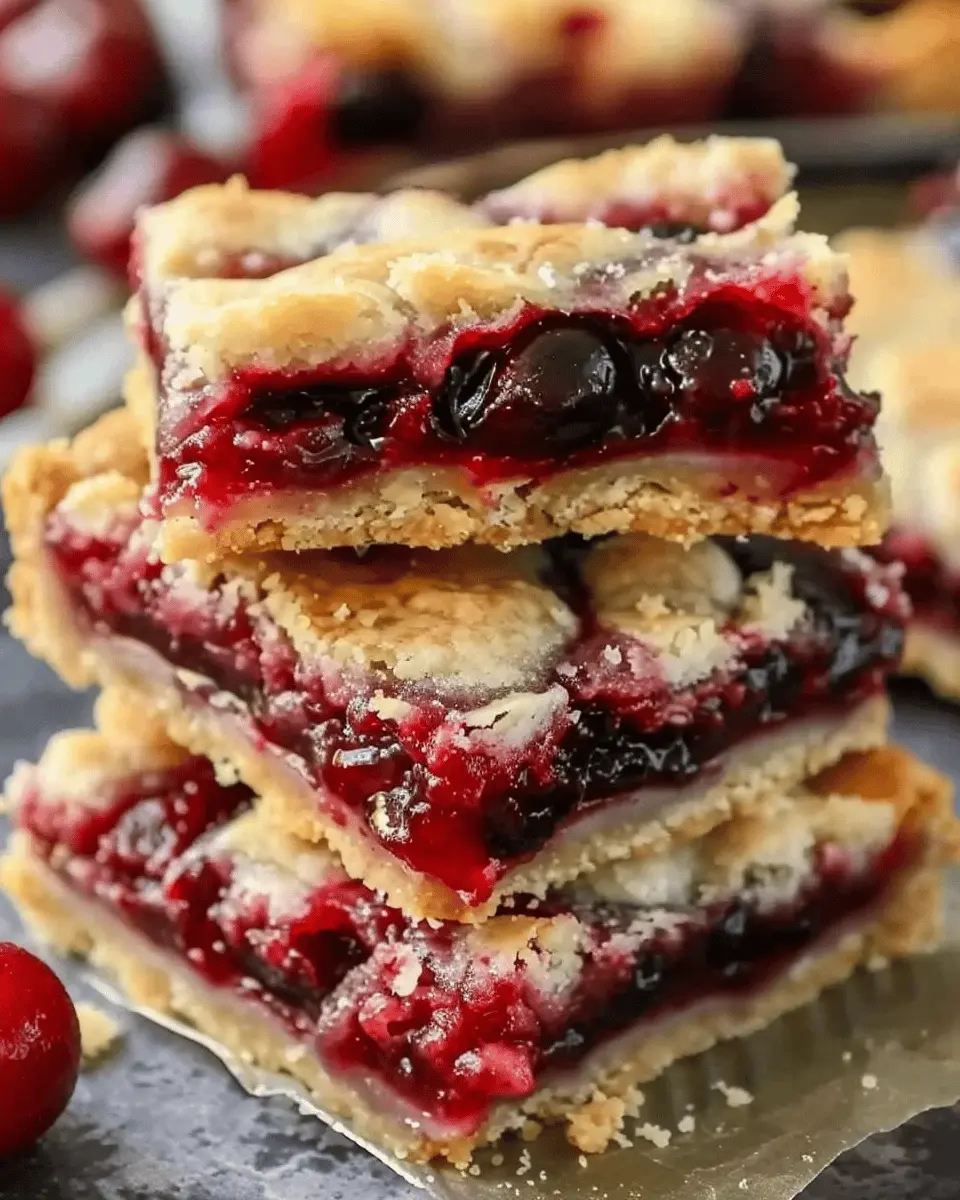
Cherry Blueberry Pie Bars
Why not mix things up with a Cherry Blueberry Pie Bar? Combining juicy cherries with plump blueberries creates a mouthwatering combination that’s hard to resist.
- Recipe Adjustment: Use half cherry filling and half blueberry filling for the best results.
- Texture Boost: Try adding oatmeal to the crust for added texture and flavor.
Blueberries bring vitamins and antioxidants to the table, making this variation not only tasty but also a bit healthier. Plus, the vibrant colors make for a stunning dessert that’s perfect for gatherings.
These variations on easy cherry pie bars are a wonderful way to cater to different tastes and make every baking session an adventure. For more ideas on variations, you can check out resources like The Spruce Eats or Food Network for inspiration!
Cooking Tips and Notes for Easy Cherry Pie Bars
Secrets to Perfecting the Dough
To achieve easy cherry pie bars with a perfectly flaky crust, start with cold ingredients. Using chilled butter and ice water can make a noticeable difference. Don’t overwork the dough; mix just until combined. If it feels too crumbly, let it rest in the fridge for about 30 minutes—this helps the gluten relax, ensuring tender bars.
When rolling it out, sprinkle some flour on your surface to prevent sticking. I often use a silicone mat, which makes cleanup a breeze, allowing me to enjoy the cherry goodness without stress.
Tips for Choosing the Best Cherry Filling
Fresh, ripe cherries are ideal, but if they’re out of season or too pricey, opt for frozen or canned cherries without added sugars. This keeps your cherry pie bars naturally sweet and flavorful.
When selecting premade fillings, look for ones that are fruit-forward; the flavor should shine through without being overly syrupy. A some trusted resources for finding quality cherry fillings that stand out together. Great cherry options can be found at Pineapple Upside Down Cake or check your local farmers’ market for fresh fruit!
Serving Suggestions for Easy Cherry Pie Bars
Perfect Pairings for Enjoying Your Bars
When you’re ready to relish your easy cherry pie bars, consider pairing them with a scoop of vanilla ice cream. The creamy texture complements the tart cherry filling beautifully. Alternatively, you could whip up a dollop of homemade whipped cream for a light, fluffy topping that elevates the dessert experience.
You can also pair these bars with a warm cup of herbal tea or coffee. A chamomile or mint-infused tea can add a soothing touch, making it perfect for a cozy evening treat.
Creative Ways to Serve Cherry Pie Bars
Why not get a little creative when serving your easy cherry pie bars? Cut them into bite-sized squares and arrange them on a tiered serving platter for a charming presentation at your next gathering. You might even consider drizzling some chocolate sauce or caramel over the top for an indulgent twist.
Another fun option is to create a cherry pie bar sundae. Simply crumble a piece of the bar in a bowl, add a scoop of ice cream, and top it with extra cherry pie filling and a sprinkle of nuts. It’s a delightful way to enjoy your dessert with a unique flair.
For more serving ideas, check out this interactive dessert guide.
Time Breakdown for Easy Cherry Pie Bars
Preparation Time
Making easy cherry pie bars is a breeze! You’ll want to set aside about 20 minutes for preparation. This time includes gathering your ingredients, mixing the crust, and getting the cherry filling just right. If you have the ingredients prepped (like pitting cherries), you might even cut this time down a bit.
Baking Time
Once your easy cherry pie bars are ready to go into the oven, the baking will take approximately 30-35 minutes. Keep an eye on them as they approach the end of this time; you want that golden-brown top to signal they’re done!
Total Time
In total, you’re looking at around 60-65 minutes from start to finish—perfect for a quick dessert that will impress your friends or family. So, why not grab the ingredients and whip up this delightful treat? You’ll be glad you did! For more baking tips, visit King Arthur Baking.
Nutritional Facts for Easy Cherry Pie Bars
When you’re whipping up a batch of easy cherry pie bars, it’s important to keep an eye on the nutritional profile. Here’s a quick breakdown to help you enjoy these bars guilt-free!
Calories
Each serving of these delicious cherry pie bars comes in at approximately 200 calories. This makes them a delightful treat that won’t derail your healthy eating plan.
Sugar Content
With about 12 grams of sugar per serving, these bars provide just the right amount of sweetness without going overboard. For those watching their sugar intake, consider swapping out some of the sugar for a natural sweetener or reducing the quantity.
Fats
Not all fats are created equal! Each serving has around 7 grams of fat, primarily from the buttery crust. Opting for a lighter butter or a healthier oil can help reduce this even further, keeping your easy cherry pie bars both indulgent and nutritious.
Feeling inspired? Check out this resource on healthy dessert swaps from the American Heart Association.
FAQs about Easy Cherry Pie Bars
How can I make these bars gluten-free?
Transforming your easy cherry pie bars into a gluten-free delight is simpler than you might think! Just swap out all-purpose flour with a gluten-free blend, such as almond flour or a store-bought mix designed for baking. Keep in mind that different gluten-free flours may have distinct moisture levels, so you might need to adjust the amount slightly. Adding a binding agent like xanthan gum can also help achieve the right texture. For more gluten-free baking tips, check out resources from the Gluten-Free Society.
Can I use fresh cherries instead of canned?
Absolutely! Fresh cherries can elevate your easy cherry pie bars to new heights. Simply pit and slice the cherries, then toss them with a bit of sugar and cornstarch to create a similar filling to the canned version. This method not only enhances the flavor but also allows you to showcase the juicy sweetness of in-season cherries. If you’re unsure about pitting cherries, take a look at guides from the Cherry Marketing Institute for some helpful tricks.
How do I store leftovers?
Storing your easy cherry pie bars is a breeze. To keep them fresh, allow the bars to cool completely, then cover them tightly in plastic wrap or keep them in an airtight container. You can store them in the refrigerator for up to a week. If you’re feeling adventurous, you can also freeze them! Just cut the bars and place them in a single layer on a baking sheet, freeze, and then transfer them to a container or freezer bag. When you’re ready to enjoy, simply thaw them overnight in the fridge.
Feel free to reach out if you have any other questions about making, enjoying, or storing your cherry pie bars!
Conclusion on Easy Cherry Pie Bars
Why You Should Try These Cherry Pie Bars Today
If you’re looking for a delightful twist on a classic dessert, these easy cherry pie bars are a must-try! Not only are they simple to whip up, but their sweet and tart flavor profile makes them a fantastic option for any occasion. Imagine serving these treats at your next gathering—your friends and family will be impressed, and you’ll be the star of the kitchen!
Plus, with their portable nature, they’re perfect for lunchboxes or quick snacks on the go. Don’t wait—this recipe is your ticket to creating a cherry masterpiece that’s as satisfying to make as it is to eat. Get ready to elevate your dessert game!
For more tips on baking, feel free to check resources like King Arthur Baking or Food Network. Happy baking!
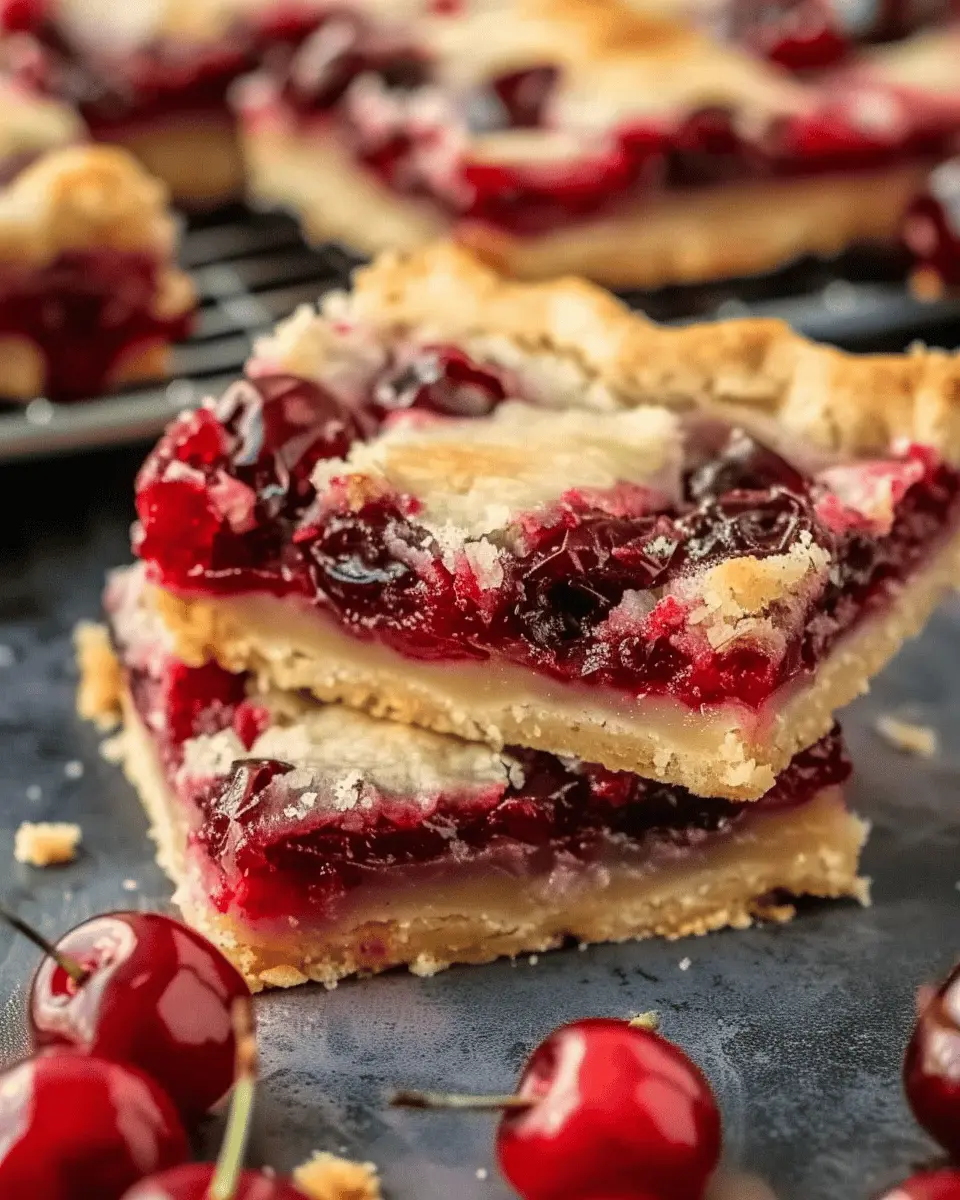
PrintEasy Cherry Pie Bars: A Sweet and Simple Homemade Delight
These Easy Cherry Pie Bars are a delightful dessert with a flaky crust and a sweet cherry filling, perfect for any occasion.
- Prep Time: 15 minutes
- Cook Time: 35 minutes
- Total Time: 50 minutes
- Yield: 12 bars 1x
- Category: Desserts
- Method: Baking
- Cuisine: American
- Diet: Vegetarian
Ingredients
- 2 cups all-purpose flour
- 1 cup granulated sugar
- 1/2 cup unsalted butter, softened
- 1 teaspoon baking powder
- 1/4 teaspoon salt
- 1/4 cup almond extract
- 1 can (21 oz) cherry pie filling
Instructions
- Preheat the oven to 350°F (175°C).
- In a large bowl, mix flour, sugar, baking powder, and salt.
- Add in the softened butter and almond extract, mixing until crumbly.
- Press half of the mixture into the bottom of a greased baking dish.
- Spread the cherry pie filling over the crust.
- Crumble the remaining mixture on top of the cherry filling.
- Bake for 30-35 minutes until the top is golden brown.
- Allow to cool before cutting into bars.
Notes
- For a stronger cherry flavor, add fresh cherries along with the pie filling.
- Serve with whipped cream for additional sweetness.
Nutrition
- Serving Size: 1 bar
- Calories: 220
- Sugar: 15g
- Sodium: 150mg
- Fat: 9g
- Saturated Fat: 5g
- Unsaturated Fat: 3g
- Trans Fat: 0g
- Carbohydrates: 30g
- Fiber: 1g
- Protein: 2g
- Cholesterol: 20mg
Keywords: Easy Cherry Pie Bars, Cherry dessert, Homemade bars