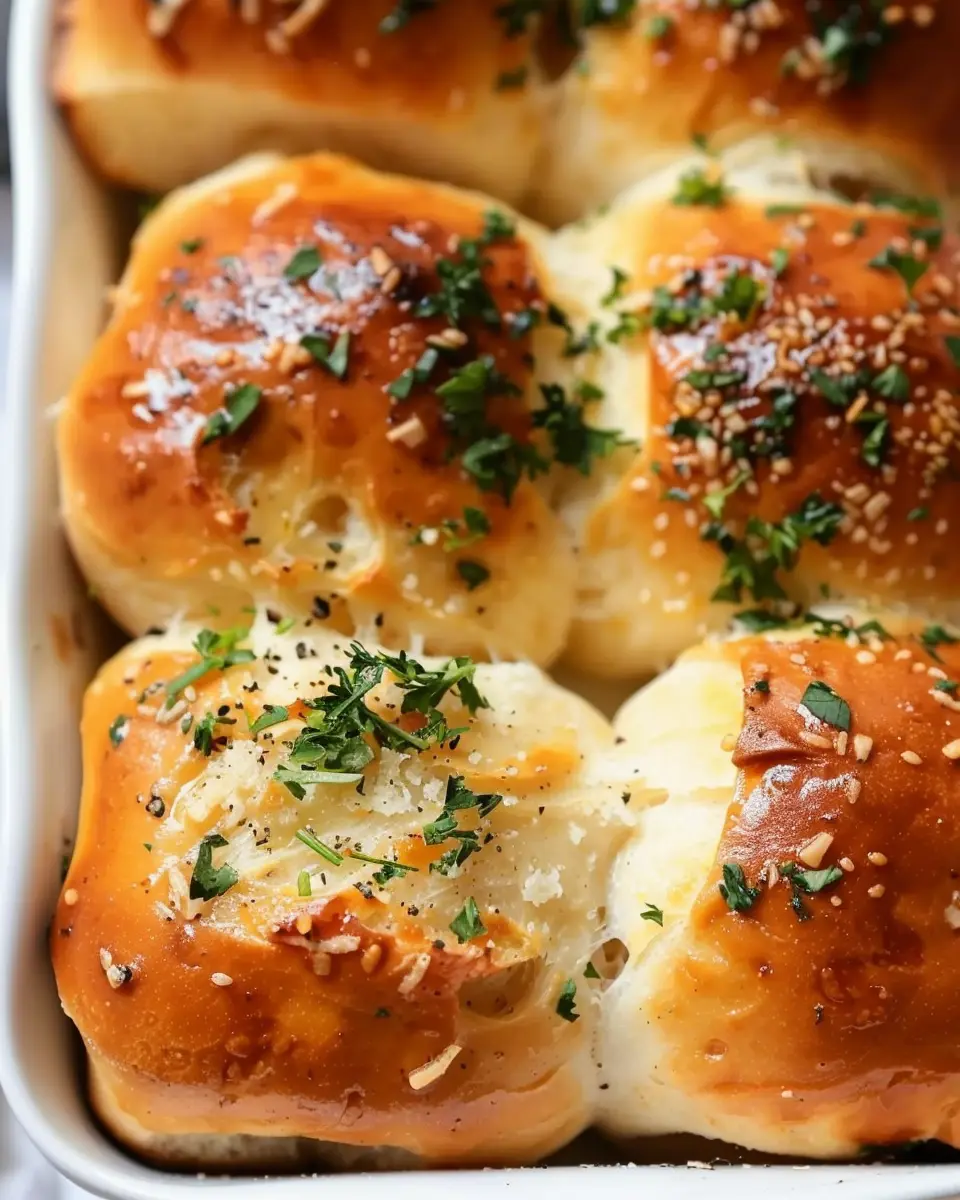
Introduction to Garlic Bread Rolls
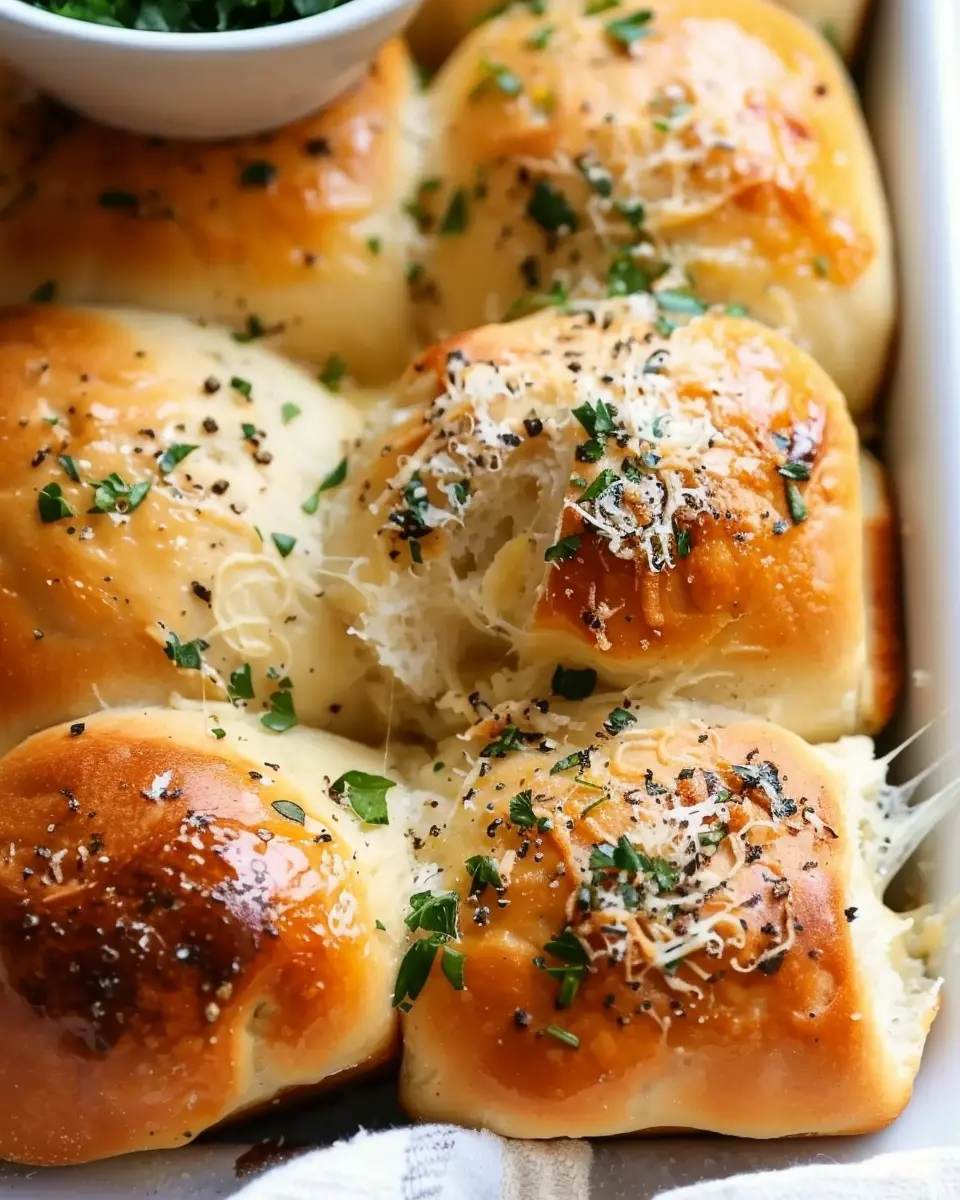
When you’re darting between meetings, deadlines, and a packed social calendar, finding time to cook can feel impossible. That’s where homemade garlic bread rolls come in as a delightful solution. These fluffy, buttery bites are not just a side dish; they can elevate any meal or snack into something truly special. Best of all, they’re simple enough to whip up in less than an hour—perfect for those busy weeknights when you’re craving something comforting yet impressive.
Why Homemade Garlic Bread Rolls Are a Game Changer for Young Professionals
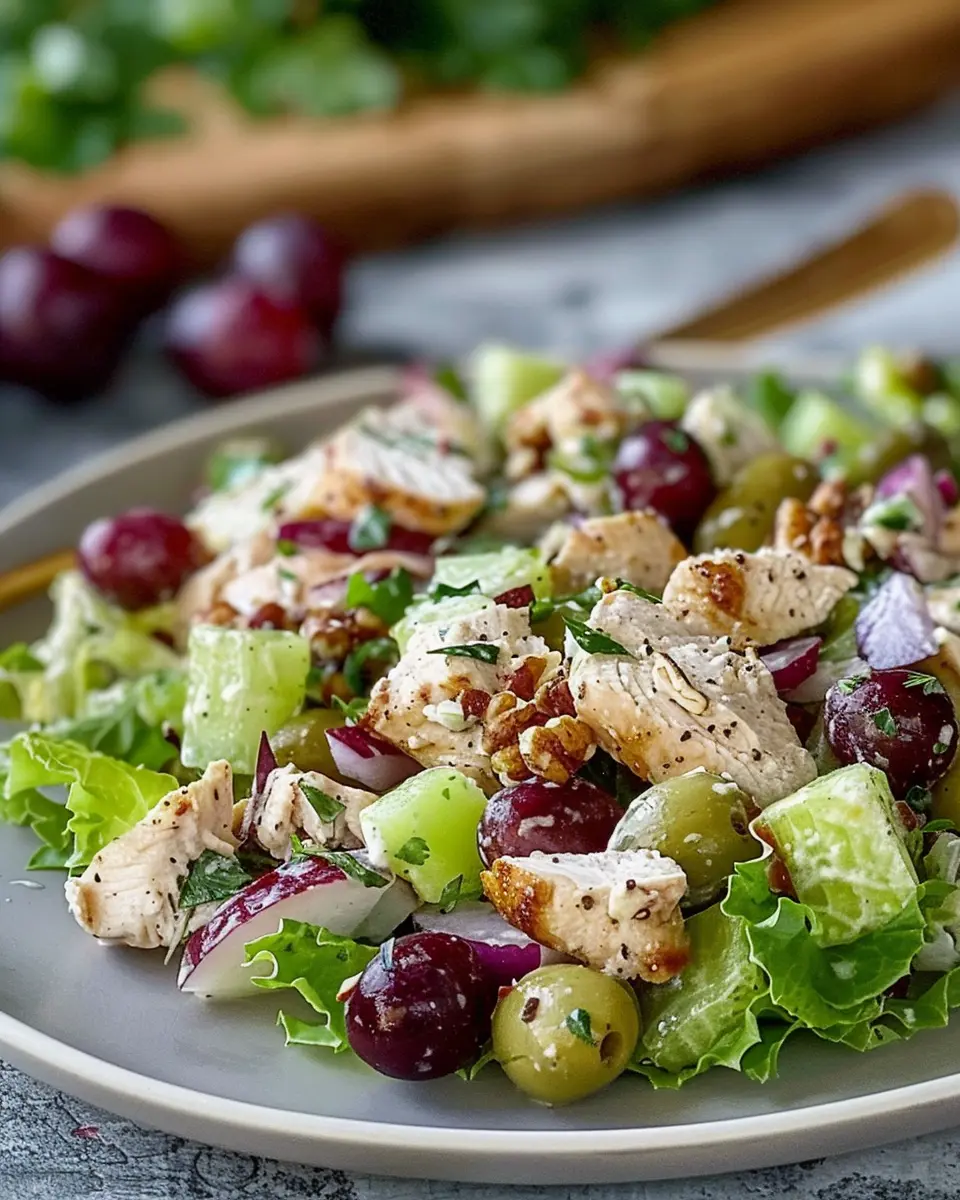
Picture this: You’ve just come home after a long day, and the last thing you want to do is spend hours in the kitchen. Instead, imagine the rich aroma of garlic and parsley wafting through your space as you prepare a batch of freshly baked garlic bread rolls. Not only are they a great addition to pasta, salads, and soups, but they can also serve as a satisfying standalone snack. Plus, you can customize them to fit your taste preferences—add cheese, substitute your favorite herbs, or even incorporate ingredients like Turkey Bacon or Chicken Ham for an extra twist.
Why not take advantage of your own culinary abilities? A study published by the Journal of the Academy of Nutrition and Dietetics found that cooking at home can lead to healthier eating habits and greater food satisfaction. With a straightforward recipe for garlic bread rolls at your fingertips, you’ll find it easier to bypass takeout in favor of something homemade and heartwarming.
Don’t forget the convenience factor either. You can whip up a batch and store them in the freezer, pulling out a couple whenever the craving strikes. Pair them with a simple salad or use them as a party starter to impress your friends. They’re adaptable, easy to share, and bursting with flavor—truly winning traits in a busy professional’s kitchen arsenal.
So get ready to ditch the pre-packaged bread and elevate your meals with these soft, savory rolls. We’ll dive into the recipe soon, but first, take a moment to gather your ingredients and prepare to embrace the delicious world of garlic bread rolls!
Ingredients for Garlic Bread Rolls
Creating the perfect garlic bread rolls starts with the right blend of ingredients. Let’s break this down to ensure your rolls come out delightfully fluffy and packed with flavor.
Essential Ingredients for the Dough
To make the delightful dough, you’ll need:
- All-purpose flour: This is the main base. It provides that irresistible texture.
- Active dry yeast: Don’t skip this; it’s what makes your rolls rise and become soft!
- Warm water: It helps activate the yeast. Aim for that perfect temperature—neither too hot nor too cold.
- Sugar: Just a teaspoon adds a hint of sweetness and aids in activating the yeast.
- Salt: Essential for flavor and helps control yeast growth.
- Olive oil: Adds richness and helps keep the rolls moist.
Ingredients for the Garlic Butter
The next star of the show is the garlic butter. Here’s what you’ll need:
- Unsalted butter: A must for that creamy richness!
- Fresh garlic: Minced finely—this is the soul of your garlic bread rolls.
- Parsley: Fresh or dried, it adds a lovely herbal note.
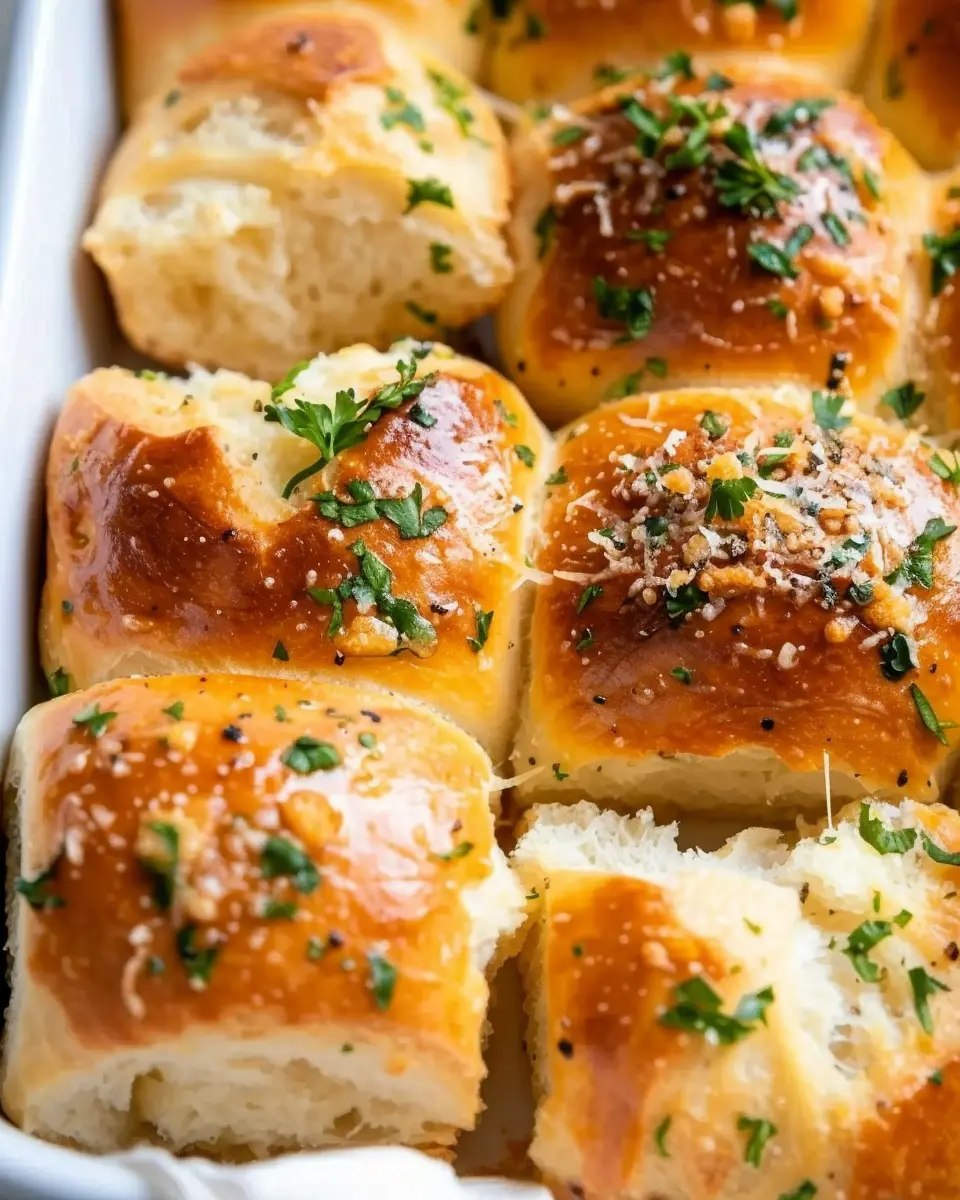
- Grated Parmesan cheese (optional): For a cheesy twist that elevates the flavor.
Once you gather these ingredients, you’re practically on your way to a garlicky paradise! Pair them with a side dish, or simply enjoy them as a snack. Feel free to check out sources like The Kitchn for further culinary insights. Happy baking!
Step-by-step Preparation of Garlic Bread Rolls
When thinking about comfort food, few things can match the joy of homemade garlic bread rolls. These pillowy delights bring the rich, aromatic flavor of garlic straight to your table. So, let’s embark on this flavorful journey together, one step at a time.
Gather all your ingredients
Before you dive into the mixing and kneading, make sure you have everything on hand. This will make the process smoother and more enjoyable. Here’s what you’ll need:
- 4 cups all-purpose flour
- 1 packet (2 ¼ teaspoons) active dry yeast
- 1 teaspoon sugar
- 1 teaspoon salt
- 1 cup warm water (about 110°F)
- ½ cup unsalted butter, melted
- 4-6 cloves of garlic, minced
- Fresh parsley, finely chopped
- Additional melted butter for brushing
Make sure your butter is unsalted for the best flavor balance. You can try substituting with vegan butter if you’re looking for a plant-based option!
Prepare the garlic butter
Whipping up the garlic butter is a simple yet crucial step. In a small bowl, combine the melted butter, minced garlic, and chopped parsley. Mix them well and set it aside. This garlic butter will bring life and flavor to your rolls, transforming them into a crowd-pleaser.
Mix the dry ingredients for the dough
In a large mixing bowl, combine the flour, sugar, yeast, and salt. Whisk these together until well blended. This step is essential as it ensures that your garlic bread rolls will rise beautifully and have a great texture.
Incorporate the wet ingredients
Gradually add the warm water to the dry mixture, followed by the melted butter. Use a wooden spoon or your hands to incorporate everything until the mixture forms a shaggy dough. The warmth from the water helps activate the yeast, ensuring a lovely, light rise.
Knead the dough to perfection
Turn the dough out onto a floured surface and begin to knead. You’ll want to do this for about 8-10 minutes until your dough is smooth and elastic. Not sure if you’re getting it right? The dough should spring back when you poke it with your finger. If it feels sticky, sprinkle a little more flour, but be careful not to overdo it.
Shape the dough into rolls
Once kneaded, divide your dough into equal pieces—about 12-15 should do, depending on your preference for size. Roll each piece into a ball and place them on a greased baking sheet. Ensure there’s some space between each roll—they will expand during the second rise.
Let the rolls rise
Cover the rolls with a clean kitchen towel and place them in a warm space for about 30-45 minutes. This is perhaps the hardest part; watching the dough rise is like waiting for a surprise! You’ll know they’re ready when they’ve doubled in size.
Preheat the oven and prepare for baking
As the rolls rise, go ahead and preheat your oven to 375°F. You want it nice and hot, ready to give your rolls the perfect golden brown color.
Bake those delicious rolls
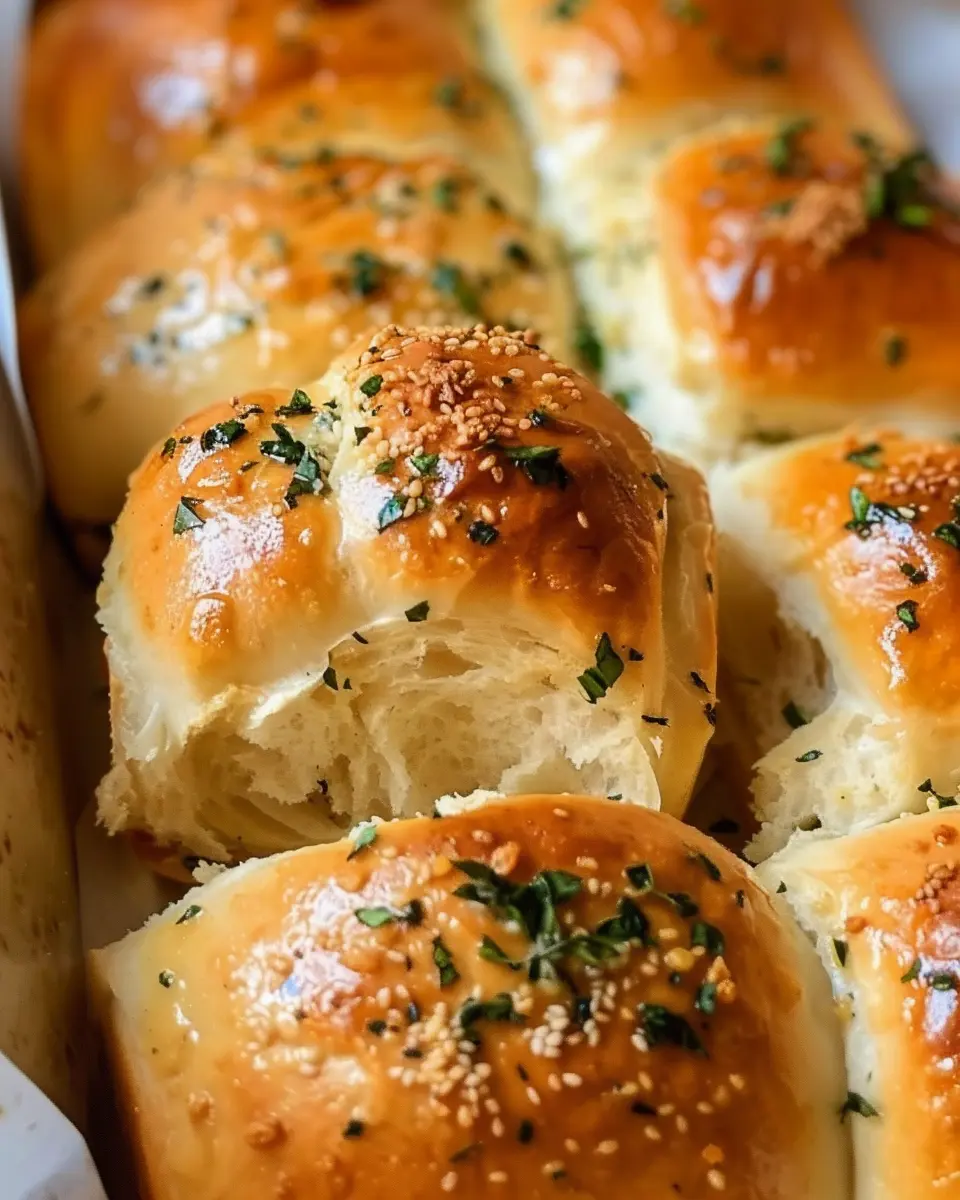
Once risen, place the rolls in the oven and bake for 15-20 minutes. Keep an eye on them; that delightful aroma is a sure sign that deliciousness is just minutes away! They should be puffy and golden when you take them out.
Brush with garlic butter and finish
Once baked, remove your rolls from the oven and, while they’re still warm, brush them generously with the prepared garlic butter. This final touch not only enhances the flavor but gives a lovely shine to your rolls, making them irresistible.
There you have it! Your homemade garlic bread rolls are ready to be savored. Serve them warm as a side dish, or enjoy them on their own with a nice dip. If you’re feeling adventurous, consider pairing them with a fresh salad or soups. Happy baking!
For more delightful recipes, check out Food Network or BBC Good Food.
Variations on Garlic Bread Rolls
There’s something undeniably comforting about fresh garlic bread rolls. However, why stick to just one version when you can explore delightful variations? Let’s dive into some tasty ideas that can elevate your bread rolls to a whole new level.
Add Cheese for a Cheesy Garlic Bread Roll
If you’re a fan of ooey-gooey goodness, consider stuffing your rolls with cheese. Fresh mozzarella or sharp cheddar can add just the right amount of meltiness. Or, for a surprise twist, try adding a bit of cream cheese mixed with herbs for a creamy filling. Imagine biting into a fluffy roll and experiencing that heavenly cheese pull! Delicious options abound, so don’t hesitate to experiment—sharp cheeses can really complement the garlicky flavors.
Incorporate Herbs for a Flavor Twist
Why not infuse your garlic bread rolls with fresh herbs? Adding finely chopped parsley, basil, or thyme can transform the ordinary into the extraordinary. Not only do they add a pop of color, but they also bring freshness to every bite. Just a hint of herbs like these can elevate the flavor profile and impress your guests. You might even find some inspiration in this herb gardening guide to grow your own!
Try Different Types of Garlic for Unique Flavors
Don’t stop at the classic bulb of garlic. Explore options like roasted garlic for a sweet, mellow flavor or black garlic for its unique umami taste. Each variety offers something special that can change the game of your garlic bread rolls. For a gourmet touch, consider learning more about garlic types and their uses on this informative site.
With these creative variations, your garlic bread rolls can be a thrilling experience on their own or a fantastic side dish that pairs beautifully with any meal. Enjoy experimenting!
Cooking Tips and Notes for Garlic Bread Rolls
Importance of Measuring Ingredients Accurately
When creating your garlic bread rolls, precise measurements are key. Accurate ingredient ratios ensure that your dough rises correctly and that every bite is flavorful. Consider investing in a digital kitchen scale for optimal results! It may seem simple, but even a small variation can lead to different textures—nobody wants a dense roll.
Benefits of Using Fresh Garlic
Using fresh garlic instead of pre-packaged options can elevate your rolls immensely. Fresh garlic provides a robust flavor and health benefits thanks to its abundant antioxidants. For extra zest, try roasting your garlic to bring out a sweeter profile. This not only enhances taste but also offers a delightful aroma that fills your kitchen.
How to Re-activate Dough if It Doesn’t Rise Properly
Sometimes, dough misbehaves—don’t stress! If your garlic bread rolls dough hasn’t risen, simply knead it gently and place it in a warmer environment. A tip from the pros: placing it near a warm oven can create the right ambiance for activation. Remember, patience is key! For more detailed troubleshooting, check out this helpful guide on dough rising.
These small tips will help make your garlic bread rolls the star of any meal! Happy baking!
Serving Suggestions for Garlic Bread Rolls
Pairing with Soups and Salads
Garlic bread rolls are an exceptional companion to warm, comforting soups or vibrant, fresh salads. Imagine savoring a bowl of creamy tomato soup alongside a soft, herb-infused garlic bread roll! The way those flavors meld is simply delightful. Likewise, a crisp garden salad topped with a zesty vinaigrette becomes even more enjoyable when paired with these rolls. For a truly inspiring twist, consider serving your rolls with a hearty butternut squash soup or a tangy Greek salad. These combinations are not just delectable; they also elevate your meals, making them feel more complete.
Serving Options for Snacks or Appetizers
These versatile garlic bread rolls can easily transition into a crowd-pleasing appetizer. Slice them into bite-sized pieces and serve with a warm marinara or a herbed olive oil dip as part of a game-night spread. You can also top them with turkey bacon and mozzarella for a quick snack that satisfies hunger while impressing your guests. The fragrance of garlic will have everyone running to the table!
Creative Uses in Other Recipes
Don’t limit yourself to just serving garlic bread rolls on their own. They can star in other creative dishes! Consider using torn pieces of these rolls as a crunchy topping for casseroles, adding texture and flavor. You can also turn them into a flavorful base for a garlic bread pizza by layering cheese and your choice of toppings. The possibilities really are endless! For more innovative ideas, check out this great article on culinary uses for bread.
Incorporating garlic bread rolls into your meals not only enhances dining experiences but also brings warmth and comfort to every table.
Time Breakdown for Garlic Bread Rolls
Preparation time
Getting started on your garlic bread rolls takes just about 15 minutes. This includes mixing your ingredients and prepping the dough. It’s a great opportunity to wash your hands and set your kitchen up for success!
Rising time
Allow the dough to rise for 1 hour. This step is crucial for achieving that fluffy texture we all love. You can use this time to relax or think about what tasty meal you’ll pair with your rolls.
Baking time
Once the dough has risen, bake your garlic bread rolls for 15-20 minutes until they’re golden brown and fragrant. You can even check on them to get a whiff of that delicious aroma wafting through your kitchen!
Total time
Overall, you’ll spend about 1 hour and 35 minutes to create perfect garlic bread rolls, making it a wonderful addition to any meal, whether you’re hosting a dinner party or enjoying a cozy night in. For tips on creating the best rolls, you can check out resources like Food52 or Serious Eats.
Nutritional Facts for Garlic Bread Rolls
Calories per roll
When it comes to garlic bread rolls, each roll typically contains around 150–200 calories, depending on the ingredients and size. That makes them an indulgent yet manageable treat, especially when paired with a fresh salad or soup.
Breakdown of major nutrients
These delightful rolls generally offer a good mix of carbohydrates and fats, primarily from the bread and the butter or oil used. Here’s a quick look:
- Carbohydrates: about 25g
- Fat: around 8g (depending largely on the type of spread)
- Protein: about 3g
While delicious, it’s important to balance them within your meal.
Tips for a healthier version
Want a lighter twist on your garlic bread rolls? Consider these simple swaps:
- Use whole-grain or cauliflower-based bread for added fiber.
- Replace butter with olive oil or a spread made from herbs.
- Add herbs like parsley or spinach for an extra vitamin boost.
These changes not only enhance the nutritional profile but can also elevate the flavor! For more insights on healthy baking, check out The Nutrition Source for expert tips.
Now, isn’t it great knowing you can enjoy those garlic bread rolls without the guilt? Happy baking!
FAQs about Garlic Bread Rolls
Can I make garlic bread rolls ahead of time?
Absolutely! Making garlic bread rolls in advance can save you time during busy weeknights or special occasions. You can prepare the dough, let it rise, shape the rolls, and then refrigerate them for up to 24 hours. When you’re ready to bake, take the rolls out and let them rise for about 30 minutes at room temperature before popping them into the oven. You could also freeze the rolled dough. Just make sure to wrap them tightly in plastic wrap and then place them in a zip-top bag. When you want to enjoy them, let them thaw overnight in the fridge, then allow them to rise at room temperature before baking.
What should I do if my dough doesn’t rise?
If your garlic bread rolls dough isn’t rising, don’t worry—you’re not alone! This is a common baking hiccup, usually related to yeast. Here are a couple of troubleshooting steps to try:
- Check your yeast: Make sure it’s fresh and active. Perform a quick test by dissolving it in warm water with a teaspoon of sugar. If it’s bubbly after about 5-10 minutes, you’re good to go!
- Warm environment: Ensure your dough is in a warm space to rise properly. If your kitchen is cool, try placing it in a turned-off oven with just the light on.
If the issue persists, feel free to explore more about yeast with expert sources like King Arthur Baking.
How do I store leftover garlic bread rolls?
Leftover garlic bread rolls are a delicious treat for days to come! Store them in an airtight container at room temperature for up to two days. If you want to keep them fresh longer, freeze them. Wrap each roll in plastic wrap and then place them in a zip-top bag. When you’re ready to enjoy them again, simply reheat them in the oven for that fresh-out-of-the-oven feel. Want to learn more about proper bread storage? Check out guidance from sites like The Bread Lab.
Conclusion on Garlic Bread Rolls
These garlic bread rolls are the perfect addition to any homemade meal, turning an ordinary dinner into a delightful feast. Their fluffy texture and rich, buttery garlic flavor complement a variety of dishes, from pasta to salads. Plus, they are incredibly easy to prepare, making them ideal even for a busy weeknight.
Consider serving your rolls with a zesty marinara sauce or pairing them with a warm soup for a cozy night in. Feel free to experiment with toppings—whether it’s herbs or cheese—there’s room for creativity! For more inspiration, check out this guide on bread pairings.
So, what are you waiting for? Dive into this garlic bread rolls recipe and elevate your next meal.
PrintGarlic Bread Rolls: Easy and Indulgent Homemade Delight
Delicious homemade garlic bread rolls that are easy to make and perfect for any meal.
- Prep Time: 15 minutes
- Cook Time: 20 minutes
- Total Time: 1 hour 35 minutes
- Yield: 12 rolls 1x
- Category: Bread
- Method: Baking
- Cuisine: Italian
- Diet: Vegetarian
Ingredients
- 4 cups all-purpose flour
- 2 teaspoons active dry yeast
- 1 tablespoon sugar
- 1 teaspoon salt
- 1/4 cup unsalted butter, melted
- 1 cup warm water
- 4 cloves garlic, minced
- 1/4 cup fresh parsley, chopped
- 1 teaspoon Italian seasoning
Instructions
- In a bowl, combine warm water, sugar, and yeast. Let it sit for 5 minutes until frothy.
- Add melted butter, flour, salt, garlic, parsley, and Italian seasoning to the yeast mixture. Mix until a dough forms.
- Knead the dough on a floured surface for about 5-7 minutes until smooth.
- Place the dough in a greased bowl, cover with a cloth, and let it rise for 1 hour.
- Punch down the dough and divide it into 12 equal pieces.
- Shape each piece into a roll and place on a greased baking sheet.
- Cover rolls and let them rise for another 30 minutes.
- Preheat the oven to 375°F (190°C).
- Bake for 15-20 minutes until golden brown.
- Remove from the oven and brush with melted butter before serving.
Notes
- For extra flavor, you can add grated parmesan cheese on top before baking.
Nutrition
- Serving Size: 1 roll
- Calories: 150
- Sugar: 1g
- Sodium: 200mg
- Fat: 5g
- Saturated Fat: 3g
- Unsaturated Fat: 2g
- Trans Fat: 0g
- Carbohydrates: 22g
- Fiber: 1g
- Protein: 4g
- Cholesterol: 15mg
Keywords: Garlic Bread Rolls, homemade, easy recipe