Introduction to Red Velvet Cheesecake Layer Cake
What is Red Velvet Cheesecake Layer Cake?
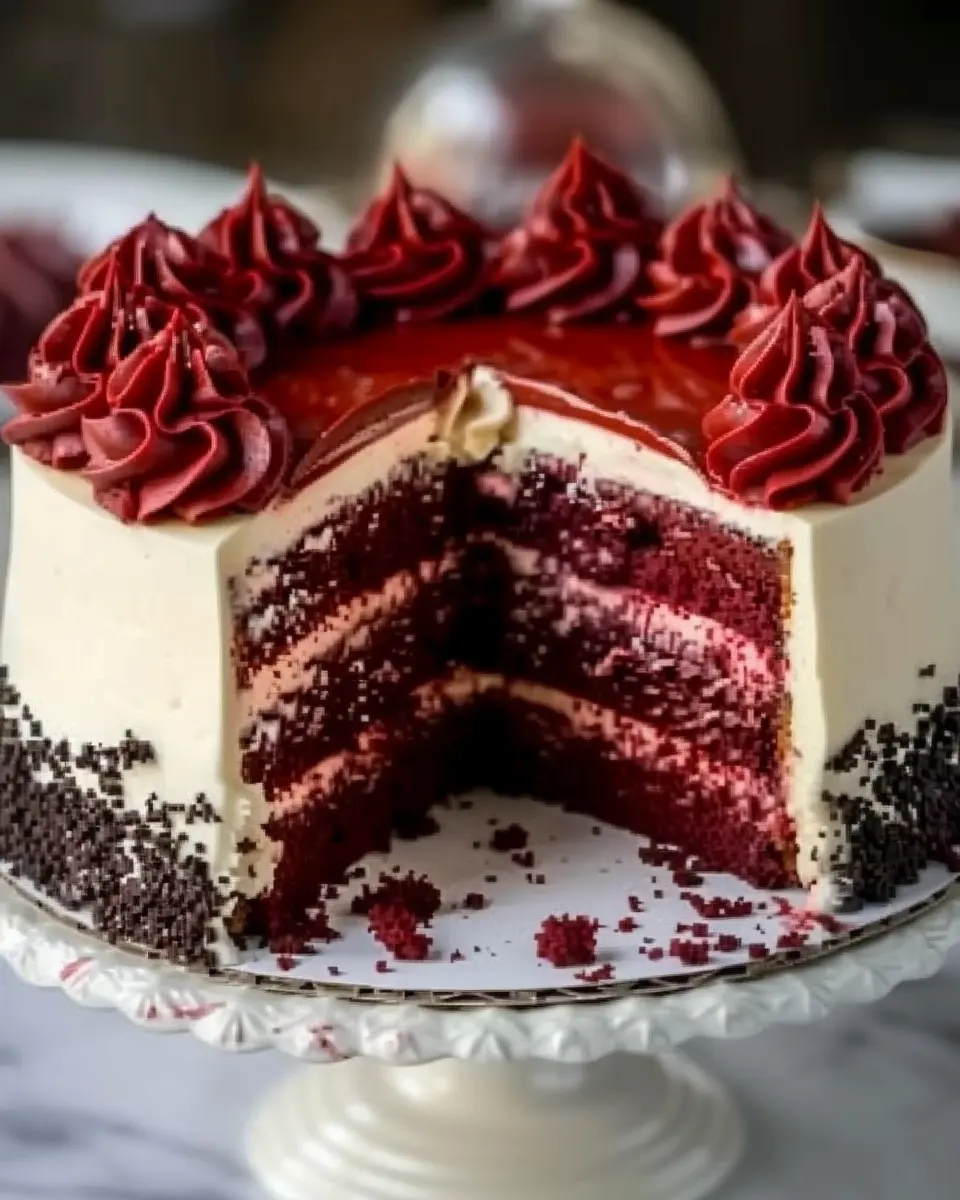
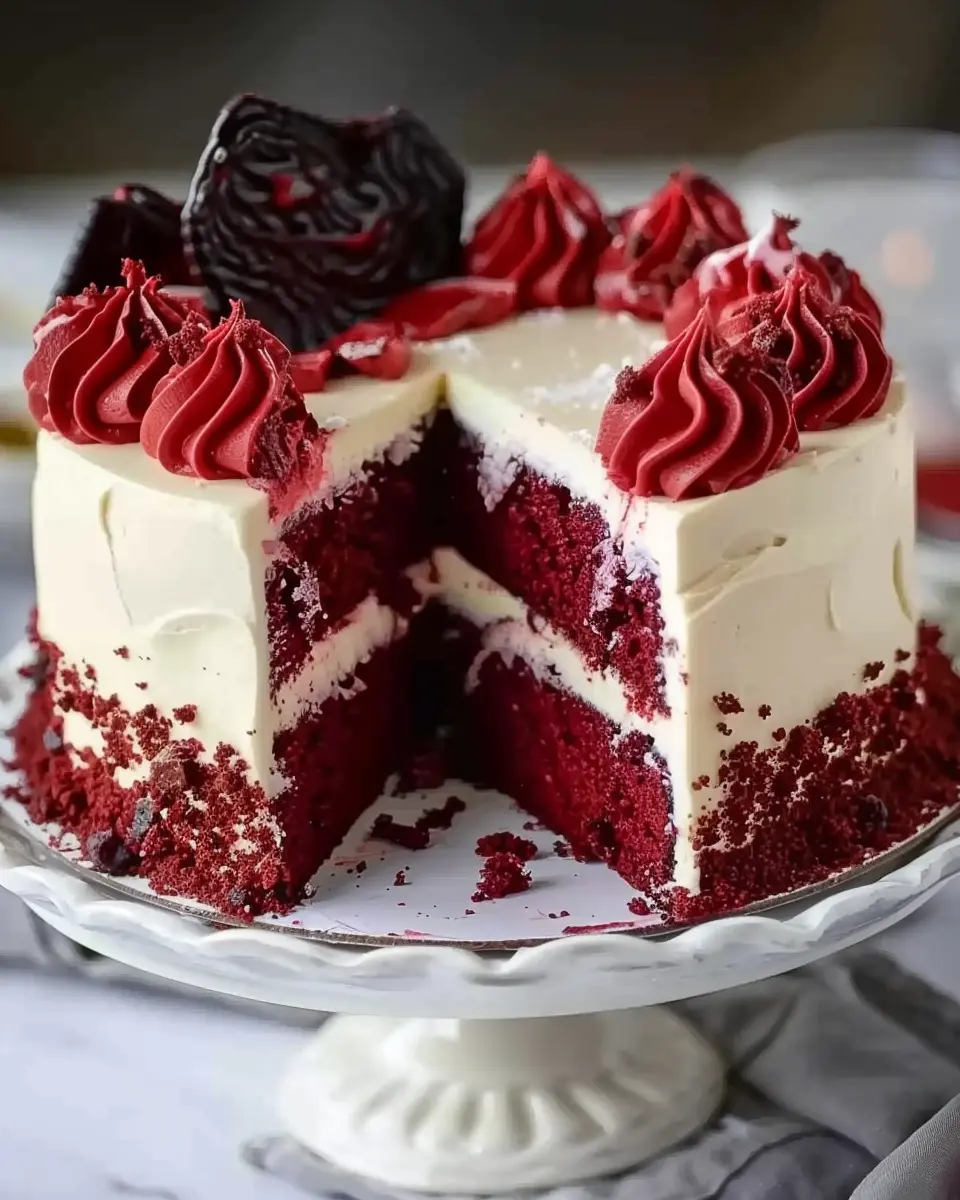
The Red Velvet Cheesecake Layer Cake is an indulgent dessert that combines the beloved flavors of red velvet cake with the creamy, rich texture of cheesecake. Imagine soft, velvety layers of red cake, expertly interspersed with luscious cheesecake filling. This cake is not just visually stunning with its striking red hue contrasted against a smooth white cheesecake layer; it also offers a delightful blend of flavors that both surprises and satisfies the palate.
Often associated with celebrations and special occasions, this dessert has become a favorite for good reason! The administrator for the International Culinary Centre states that the unique taste of red velvet, originally thought to be chocolate-based, is truly captivating, pairing perfectly with the range of cream cheese and vanilla notes that accompany a classic cheesecake.
Why it’s perfect for young professionals
As a busy young professional, you might think that creating such an elaborate dessert is outside your reach. But the truth is, this Red Velvet Cheesecake Layer Cake is surprisingly approachable. Here’s why it’s an ideal choice for those of you balancing work and life—while still wanting to impress at your next gathering:
-
Impressive Yet Manageable: While it looks like a bakery masterpiece, the process can be broken down into manageable steps. You don’t need culinary school training to pull this off!
-
Versatile for Any Occasion: Whether it’s a birthday celebration, a holiday get-together, or simply a treat for yourself after a long week, this cake adapts beautifully to any occasion.
-
Great for Sharing: There’s nothing like bringing a home-baked cake to a potluck or coworker gathering. It’s a wonderful way to show appreciation to friends or colleagues, sparking connections over shared flavors.
-
Make Ahead and Store: Busy weeks call for delectable solutions! This cake stores well in the fridge, and the flavors even improve over time—just be prepared for everyone to request the recipe when they taste how amazing it is.
So if you’re ready to create this stunning dessert, let’s dive into the recipe. You’ll be amazed at the results—and we promise, your fans will be raving about it for days! For more tips and resources, check out The Spruce Eats for baking techniques and inspiration.
Ingredients for Red Velvet Cheesecake Layer Cake
Creating a delightful Red Velvet Cheesecake Layer Cake starts with gathering the right ingredients. Let’s break it down into three essential parts to make your baking experience smooth and enjoyable.
Essential ingredients for the cake layers
For the luscious red velvet cake layers, you’ll need:
- All-purpose flour
- Granulated sugar
- Unsweetened cocoa powder
- Baking soda
- Salt
- Vegetable oil
- Buttermilk
- Eggs
- Vanilla extract
- Red food coloring (the star of the show!)
These ingredients create that signature flavor and striking color that make red velvet cakes irresistible.
Ingredients for the cheesecake layer
Next, let’s explore what you’ll need for the creamy cheesecake layer:
- Cream cheese (softened)
- Granulated sugar
- Sour cream
- Vanilla extract
- Eggs
Combining these ingredients will give you an ultra-creamy cheesecake that pairs beautifully with the red velvet layers.
Toppings and decoration essentials
To make your Red Velvet Cheesecake Layer Cake shine, consider these finishing touches:
- Whipped cream
- Fresh berries (like strawberries or raspberries)
- Chocolate shavings
Decorating not only enhances the cake visually, but it adds an extra layer of flavor.
With this ingredient overview, you’re well on your way to crafting an unforgettable dessert. Ready to dive into the baking process? Let’s get started!
Step-by-step Preparation of Red Velvet Cheesecake Layer Cake
Creating the perfect Red Velvet Cheesecake Layer Cake is a delightful journey, full of layers, flavors, and visual appeal. Follow these steps to elevate your baking game and impress your friends and family with this stunning dessert!
Prepare the Optional Chocolate Cookie Crust
Let’s kick things off with the base of your cake. If you want to add an extra layer of flavor, consider making a chocolate cookie crust. Here’s how you can whip it up:
-
Ingredients:
-
1 ½ cups chocolate cookie crumbs
-
½ cup melted butter
-
2 tablespoons sugar
-
Instructions:
- Preheat your oven to 350°F (175°C).
- In a mixing bowl, combine the chocolate cookie crumbs, melted butter, and sugar until well mixed.
- Press the mixture into the bottom of a 9-inch springform pan.
- Bake for about 10 minutes, then allow it to cool while you prepare the Red Velvet layers. This crust adds a rich, chocolatey note that complements the vibrant Red Velvet Cheesecake Layer Cake perfectly!
Bake the Red Velvet Cake Layers
Now onto the star of the show! The cake layers themselves are what will bring that classic red velvet flavor and color.
-
Ingredients:
-
2 ½ cups all-purpose flour
-
2 cups sugar
-
1 teaspoon baking soda
-
1 teaspoon salt
-
2 large eggs
-
1 ½ cups vegetable oil
-
1 cup buttermilk
-
2 tablespoons red food coloring
-
1 teaspoon vanilla extract
-
1 teaspoon vinegar
-
Instructions:
- Preheat your oven to 350°F (175°C) again if you’re using a fresh oven.
- In a large bowl, mix the flour, sugar, baking soda, and salt.
- In another bowl, whisk together the eggs, oil, buttermilk, food coloring, vanilla extract, and vinegar.
- Combine the wet and dry ingredients, mixing until just blended.
- Divide the batter into three 9-inch round cake pans and bake for 25-30 minutes, or until a toothpick comes out clean. Cool completely before removing from the pans.
Craft the Creamy Cheesecake Layer
While your cake layers are cooling, let’s focus on the velvety cheesecake that will tie everything together.
-
Ingredients:
-
16 oz cream cheese, softened
-
½ cup sugar
-
2 large eggs
-
1 teaspoon vanilla extract
-
2 tablespoons all-purpose flour
-
Instructions:
- In a large mixing bowl, beat the cream cheese until smooth.
- Gradually add the sugar and combine well.
- Mix in the eggs, one at a time, then add the vanilla and flour.
- Pour the cheesecake batter into a greased springform pan (you can use the same one from the crust) and bake at 325°F (160°C) for about 50-60 minutes. Let it cool completely in the pan before removing.
Assemble the Cake Layers with Love
Once everything is cooled, it’s time for the fun part! Stack those layers high.
- Start with one red velvet layer on your serving plate, and spread a layer of cheesecake on top.
- Add another red velvet layer, followed by more cheesecake, and top with the final red velvet layer.
- You can choose to chill the cake for an hour to help everything set together nicely.
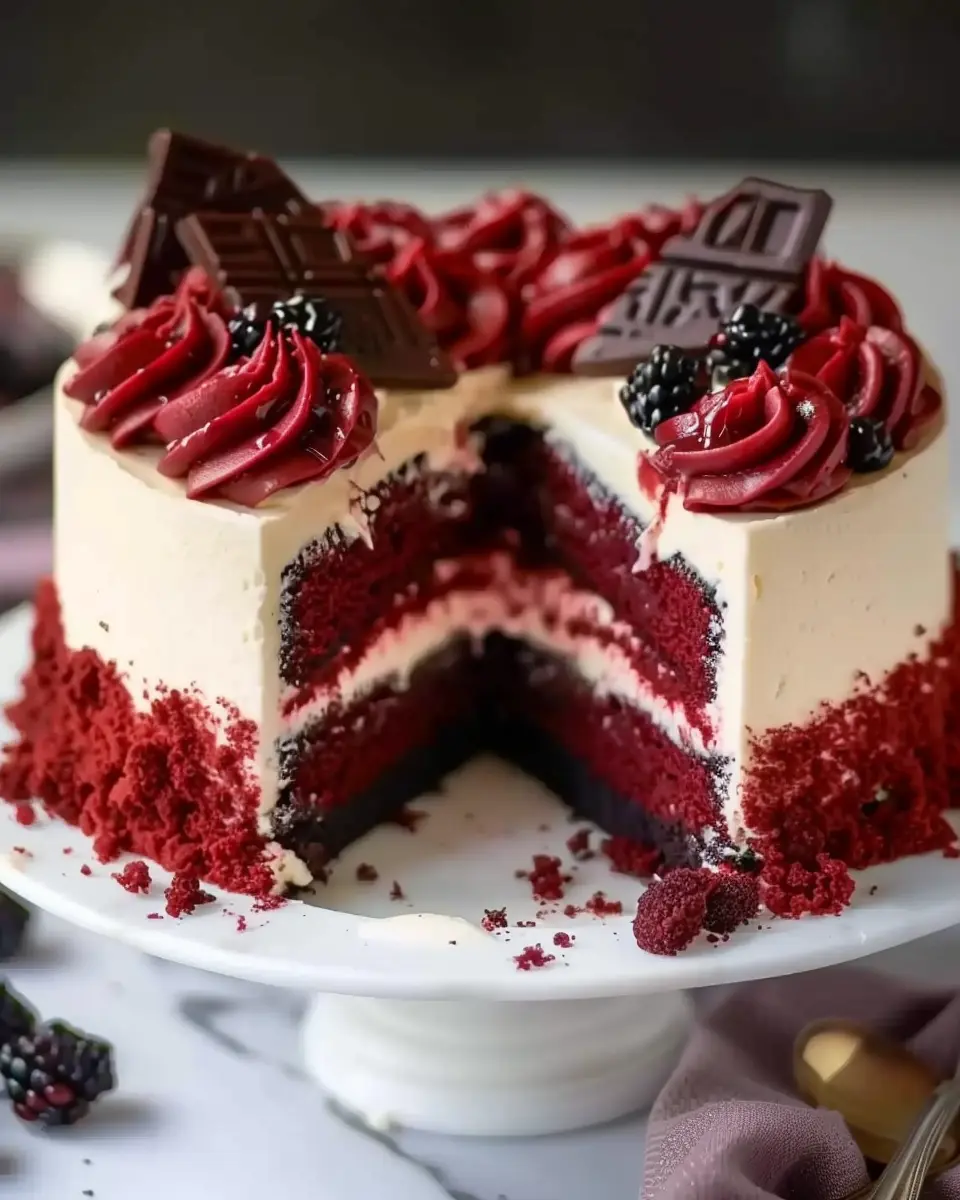
Glaze and Decorate for a Showstopper
It’s time to give your cake its final, gorgeous touches.
- Optional Cream Cheese Frosting:
- 8 oz cream cheese, softened
- ½ cup unsalted butter, softened
- 4 cups powdered sugar
- 1 teaspoon vanilla extract
- Beat the cream cheese and butter until smooth, then gradually add powdered sugar.
- Add in vanilla and mix well. Frost the top and sides of the cake with this luscious icing.
- For an extra flair, consider drizzling some chocolate ganache or a red velvet glaze over the top.
Now slice, serve, and soak in the applause—this Red Velvet Cheesecake Layer Cake is sure to be the centerpiece of any gathering! If you’re interested in more tips, you can check out Serious Eats for cake baking science or visit Joy of Baking for additional recipes and inspiration. Happy baking!
Variations on Red Velvet Cheesecake Layer Cake
Gluten-Free Alternative
If you’re looking to create a Red Velvet Cheesecake Layer Cake that accommodates gluten sensitivities, fear not! You can easily swap out regular flour for a gluten-free all-purpose blend. Just make sure it contains xanthan gum for better texture. Additionally, double-check that any other ingredients, like the cream cheese and cocoa powder, are certified gluten-free. Not only will this adaptation let you enjoy the deliciousness, but your gluten-sensitive friends will be grateful, too!
Mini Version for Small Gatherings
Sometimes, a whole layer cake is just too much, especially if you’re hosting a cozy gathering. To meet this need, consider making mini versions of your Red Velvet Cheesecake Layer Cake. Using individual ramekins or cupcake pans can create delightful personal-sized treats that are perfect for sharing—and Instagramming! Simply scale down your baking times and watch for doneness. You can also offer a variety of toppings, like crushed cookies or fresh berries, so guests can customize their mini cakes.
By experimenting with these variations, you’ll not only ensure that your cake is inclusive for everyone but also cater to different occasions. And remember, the beauty of baking is in the creativity! Whether you’re whipping up a gluten-free delight or a charming mini cake, the key is to infuse love into every layer. Need more ideas? Check out resources like The Gluten Free Society for tips on gluten-free baking!
Cooking Tips and Notes for Red Velvet Cheesecake Layer Cake
Essential baking tools
When crafting your Red Velvet Cheesecake Layer Cake, having the right tools can make all the difference. Here’s a quick list to set you up for success:
- Stand mixer: Perfect for achieving that smooth cheesecake batter and fluffy cake mix.
- Springform pan: A must for baking your cheesecake; it ensures easy removal without damaging your creation.
- Cake leveler: This will help you create flat layers, ensuring each piece is picture-perfect.
- Offset spatula: For icing your cake smoothly, it’s a game-changer!
Common pitfalls and how to avoid them
Baking can be tricky, but being aware of potential pitfalls can help. Here are a few common issues with Red Velvet Cheesecake Layer Cake and how to navigate them:
- Overmixing: This can lead to a dense cake. Mix just until combined to maintain that airy texture.
- Underbaking: Always check your cakes with a toothpick—if it comes out clean, you’re good to go.
- Cracking cheesecake: To prevent this, bake in a water bath, which maintains a moist environment.
For more insights, check out baking experts like Joy of Baking. Happy baking!
Serving Suggestions for Red Velvet Cheesecake Layer Cake
Perfect Pairings and Beverages
When it comes to serving your decadent Red Velvet Cheesecake Layer Cake, the right pairings can elevate the experience. Consider pairing this rich dessert with:
- Fresh Berries: Strawberries or blueberries enhance the cake’s flavors and add a refreshing touch.
- Whipped Cream: A dollop of vanilla-infused whipped cream perfectly complements the cheesecake’s richness.
- Coffee or Tea: A robust cup of coffee or a light herbal tea provides a delightful counterbalance to the sweetness.
If you’re looking for something fun and fizzy, try a sparkling lemonade or homemade ginger ale for a refreshing twist!
Best Occasions to Serve This Cake
This Red Velvet Cheesecake Layer Cake is perfect for various celebrations! Consider it for:
- Birthday Parties: A show-stopping centerpiece for your special day.
- Anniversaries: Celebrate love with a slice of this indulgent cake that symbolizes passion.
- Holidays: Its festive colors make it an excellent fit for any holiday gathering.
Whether you’re hosting a small get-together or a grand celebration, this cake suits every occasion beautifully! For tips on decorating, check out more on Food Network or Bon Appétit!
Time Breakdown for Red Velvet Cheesecake Layer Cake
Creating a Red Velvet Cheesecake Layer Cake is a delightful endeavor that you’ll want to savor in every step. Here’s a friendly time breakdown to help you plan your baking day!
Preparation Time
Expect to spend approximately 30–40 minutes preparing your ingredients and assembling the cake batter. Gather everything you need, including cream cheese and the essential red velvet components, to streamline the process.
Baking Time
The baking time for your Red Velvet Cheesecake Layer Cake is typically 25–30 minutes. Keep an eye on the cakes as they rise to fluffy perfection!
Chilling and Total Time
Allow at least 4 hours for chilling post-baking. This step helps your cheesecake layers set up beautifully. All in all, your total time commitment will be about 5-6 hours, including prep, bake, and chill times. For more tips on timing, you might want to check out Baking Basics for expert advice.
That’s it! With this time breakdown, you’ll be well on your way to impressing friends and family with your homemade creation. Happy baking!
Nutritional Facts for Red Velvet Cheesecake Layer Cake
Calories per serving
This delightful Red Velvet Cheesecake Layer Cake offers a rich dessert experience, with approximately 350 calories per slice. While it’s a treat meant for special occasions, knowing the calorie content helps you enjoy it mindfully.
Sugar content
A single slice contains around 25 grams of sugar. This sweetness is what makes it so irresistible, but it’s a good idea to savor each bite, especially if you’re watching your sugar intake.
Other nutritional highlights
In addition to its delicious flavor, this cake includes:
- Healthy fats from cream cheese, which may support heart health when consumed in moderation.
- Calcium from the cream cheese, contributing to bone health.
- Vitamins from cocoa powder; surprisingly, it can be a source of antioxidants.
If you’re curious about ingredient alternatives or lower-calorie options, check out further resources on nutrition at the USDA. Balancing indulgence with health is key in any diet, especially for those busy young professionals looking to treat themselves responsibly!
FAQs about Red Velvet Cheesecake Layer Cake
Can I make this cake ahead of time?
Absolutely! Making your Red Velvet Cheesecake Layer Cake ahead of time is a fabulous idea, especially for special occasions. You can prepare the cake layers and the cheesecake filling separately, then assemble and frost it the day before your event. Just remember to store each component properly, ensuring they are completely cooled before wrapping them tightly in plastic wrap. Assembled cakes can usually last about 3 days in the fridge—perfect for those busy planning moments!
What’s the best way to store leftovers?
When it comes to leftovers, keeping your Red Velvet Cheesecake Layer Cake fresh is key. Store any uneaten cake in an airtight container in the refrigerator. If you expect to have leftovers that last more than a few days, consider freezing individual slices. Simply wrap them tightly in plastic wrap and then place them in a freezer-friendly container. This way, you can enjoy a slice of cake anytime without worrying about it going bad!
Can I use different food coloring?
While classic red is the hallmark of a Red Velvet Cheesecake Layer Cake, you can definitely experiment with food coloring! Many bakers enjoy using different shades like pink or even blue for a fun twist. Just remember that the color intensity can vary depending on the type of coloring used, so always start with a small amount and adjust until you get the hue you desire. If you’re unsure, check out this article on food coloring options for some great insights.
Incorporating these tips about your Red Velvet Cheesecake Layer Cake will surely make your baking experience both enjoyable and delicious!
Conclusion on Red Velvet Cheesecake Layer Cake
Final thoughts and encouragement to try the recipe
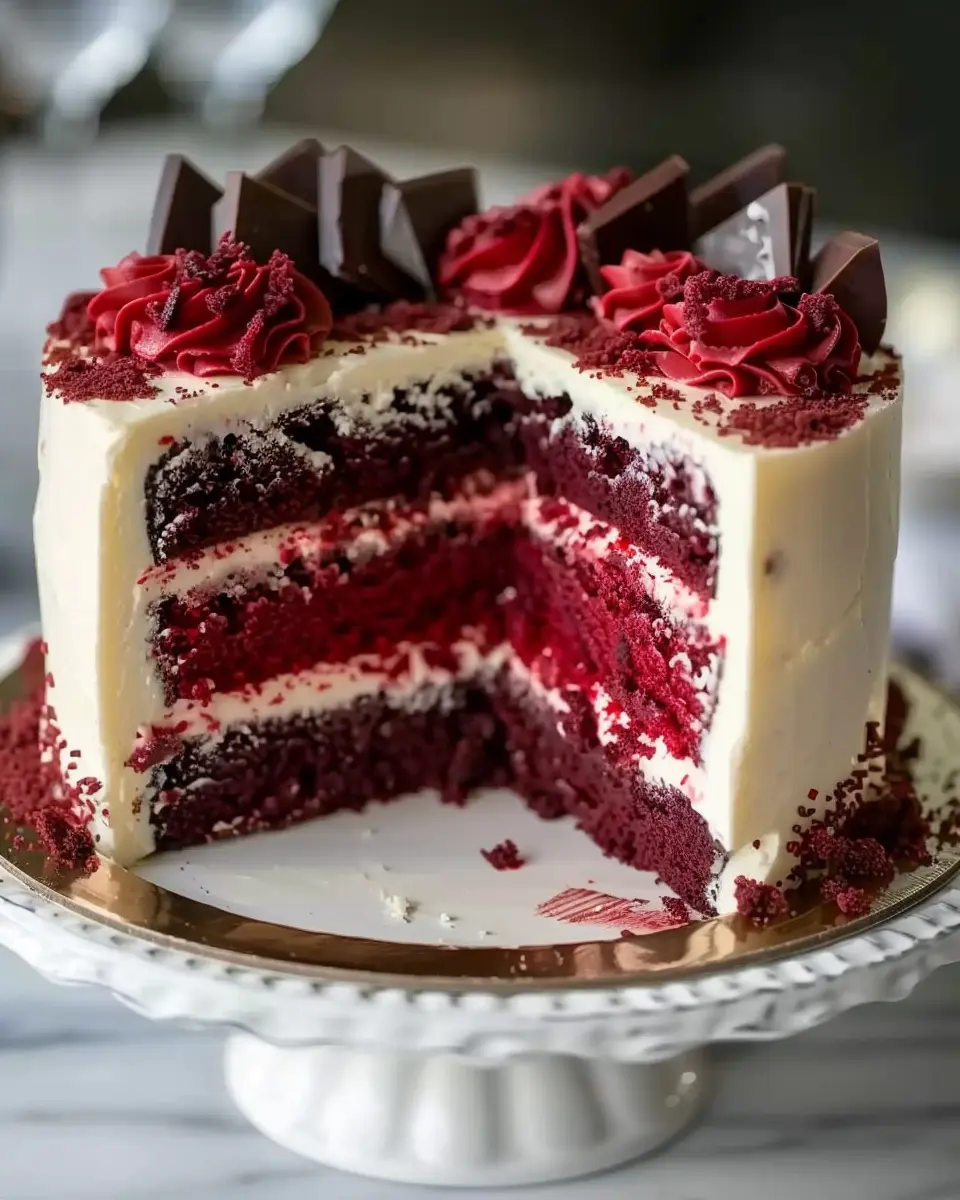
This Red Velvet Cheesecake Layer Cake is not just a dessert; it’s a showstopper perfect for any occasion. The contrast of the velvety red layers with the creamy cheesecake filling makes for a deliciously indulgent treat that’s bound to impress your friends and family. Don’t be intimidated by the layers—each step is manageable and rewarding.
Trust me, once you’ve baked and taste-tested this cake, you’ll be eager to share the recipe. Whether it’s a birthday, holiday, or just because, this cake is your ticket to creating memorable moments. So, gather your ingredients, roll up your sleeves, and let the sweet adventure begin. Happy baking!
For more inspiration and tips on baking, check out The Spruce Eats or explore Allrecipes for variations on classic cakes.
PrintRed Velvet Cheesecake Layer Cake: The Indulgent Showstopper for Home Chefs

This Red Velvet Cheesecake Layer Cake is an indulgent dessert that is perfect for special occasions.
- Prep Time: 30 minutes
- Cook Time: 30 minutes
- Total Time: 1 hour
- Yield: 12 servings 1x
- Category: Desserts
- Method: Baking
- Cuisine: American
- Diet: Vegetarian
Ingredients
- 2 cups all-purpose flour
- 1 ½ cups granulated sugar
- 1 teaspoon baking soda
- 1 teaspoon salt
- 1 teaspoon cocoa powder
- 1 cup vegetable oil
- 1 cup buttermilk, room temperature
- 2 large eggs, room temperature
- 2 tablespoons red food coloring
- 1 teaspoon vanilla extract
- 8 ounces cream cheese, softened
- 1 cup heavy whipping cream
- ½ cup powdered sugar
Instructions
- Preheat the oven to 350°F (175°C).
- In a bowl, whisk together flour, sugar, cocoa powder, baking soda, and salt.
- In another bowl, mix oil, buttermilk, eggs, food coloring, and vanilla.
- Combine dry ingredients with wet ingredients.
- Pour the batter into prepared cake pans and bake for 25-30 minutes.
- Prepare the cheesecake layer by beating cream cheese until smooth, then add heavy cream and powdered sugar.
- Assemble the cake by alternating layers of red velvet and cheesecake filling.
- Chill before serving.
Notes
- Let the cake cool completely before layering for best results.
- Feel free to add chocolate shavings for extra decoration.
Nutrition
- Serving Size: 1 slice
- Calories: 450
- Sugar: 30g
- Sodium: 200mg
- Fat: 25g
- Saturated Fat: 15g
- Unsaturated Fat: 8g
- Trans Fat: 0g
- Carbohydrates: 50g
- Fiber: 1g
- Protein: 6g
- Cholesterol: 80mg
Keywords: Red Velvet, Cheesecake, Layer Cake, Dessert, Indulgent